BCODE AKYS "Cards & Invoice Entry" Procedure
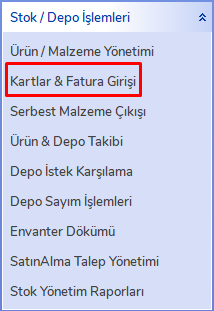
Click the "Cards & Invoice Entry" tab under the "Stock / Warehouse Operations" menu on the left side.
Current Company Cards
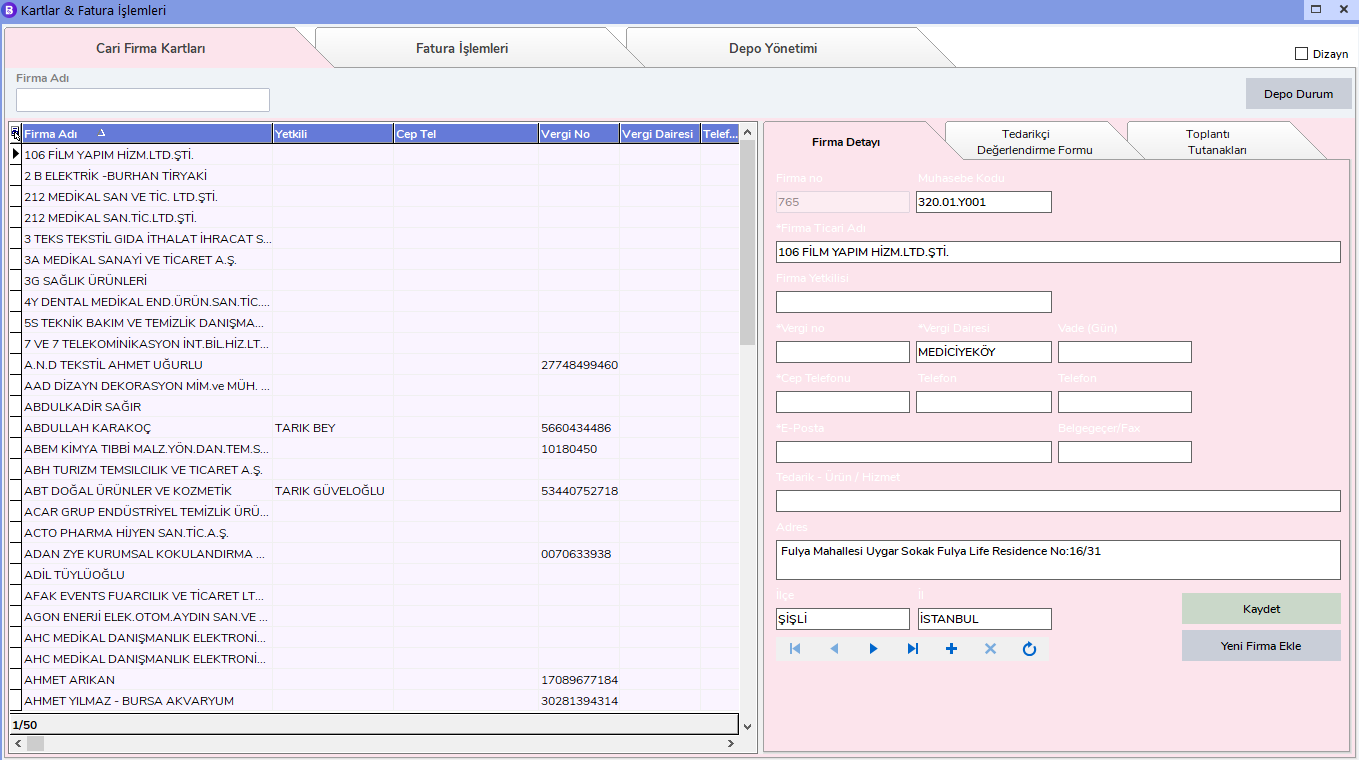
To enter an invoice, the current card of the related company must have been opened. If you purchased products from the company for the first time, you can create a new current card from the "Current Company Cards" tab.
Add New Current Company Card
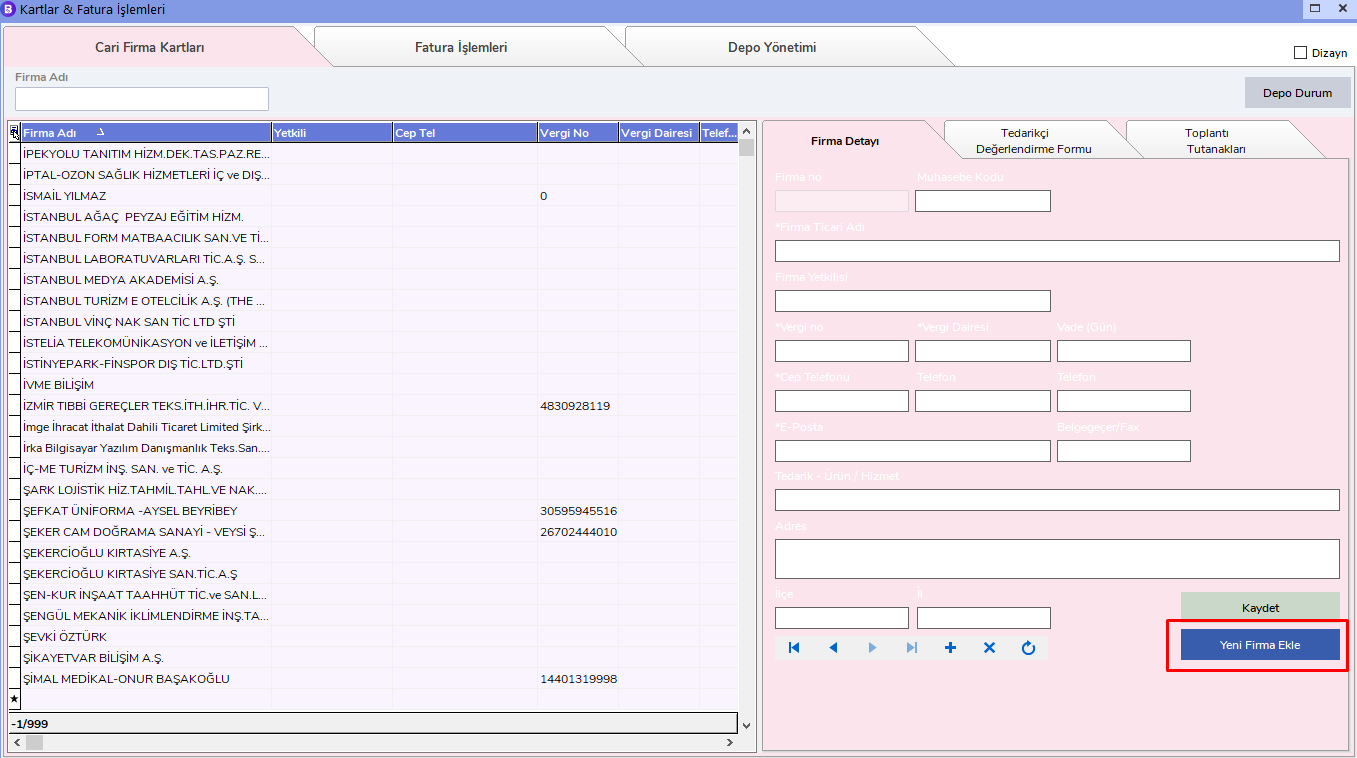
Click the "Add New Company" button in the area marked in red. Fill in the company information at the top and click the "Save" button to create a new current company card.
Invoice Operations
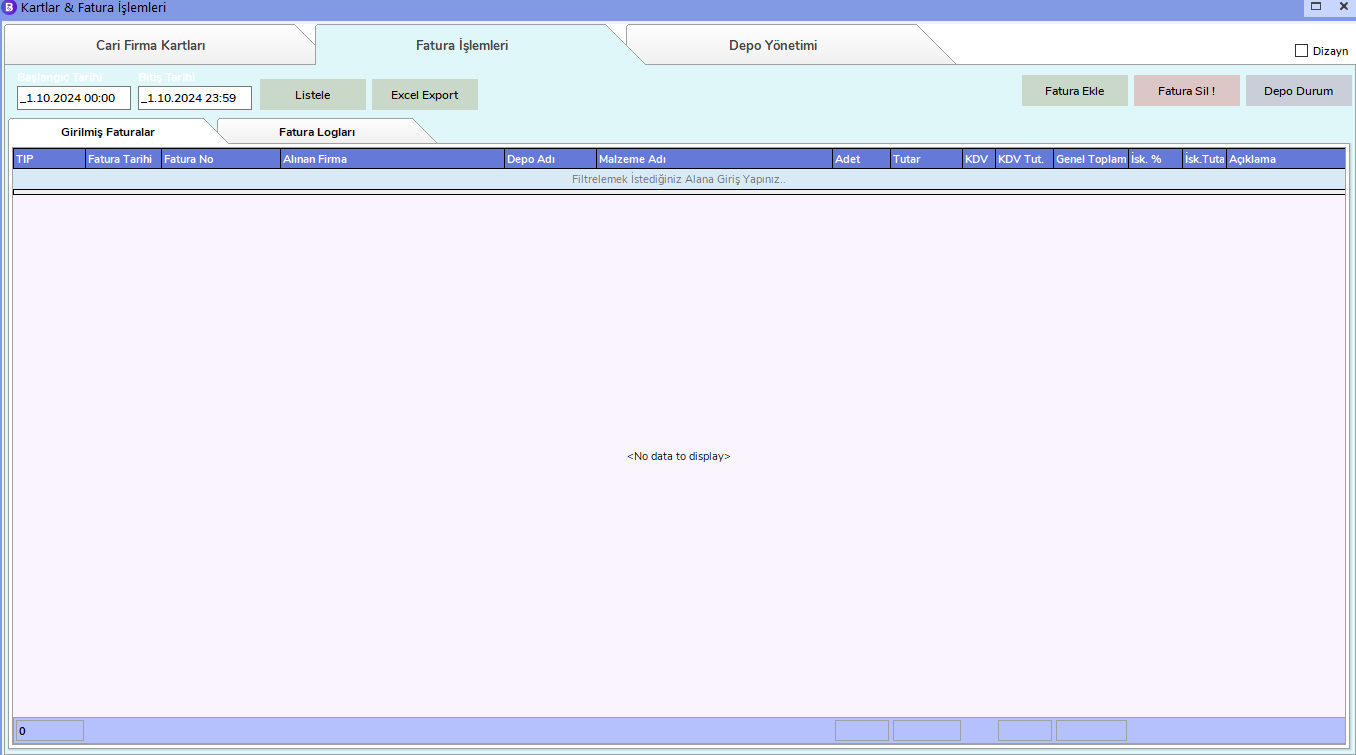
From the "Invoice Operations" tab, you can track all invoices entered within the date range you specify.
Invoice Entry

For Invoice Entry, click the "Add Invoice" button in the "Invoice Operations" tab.
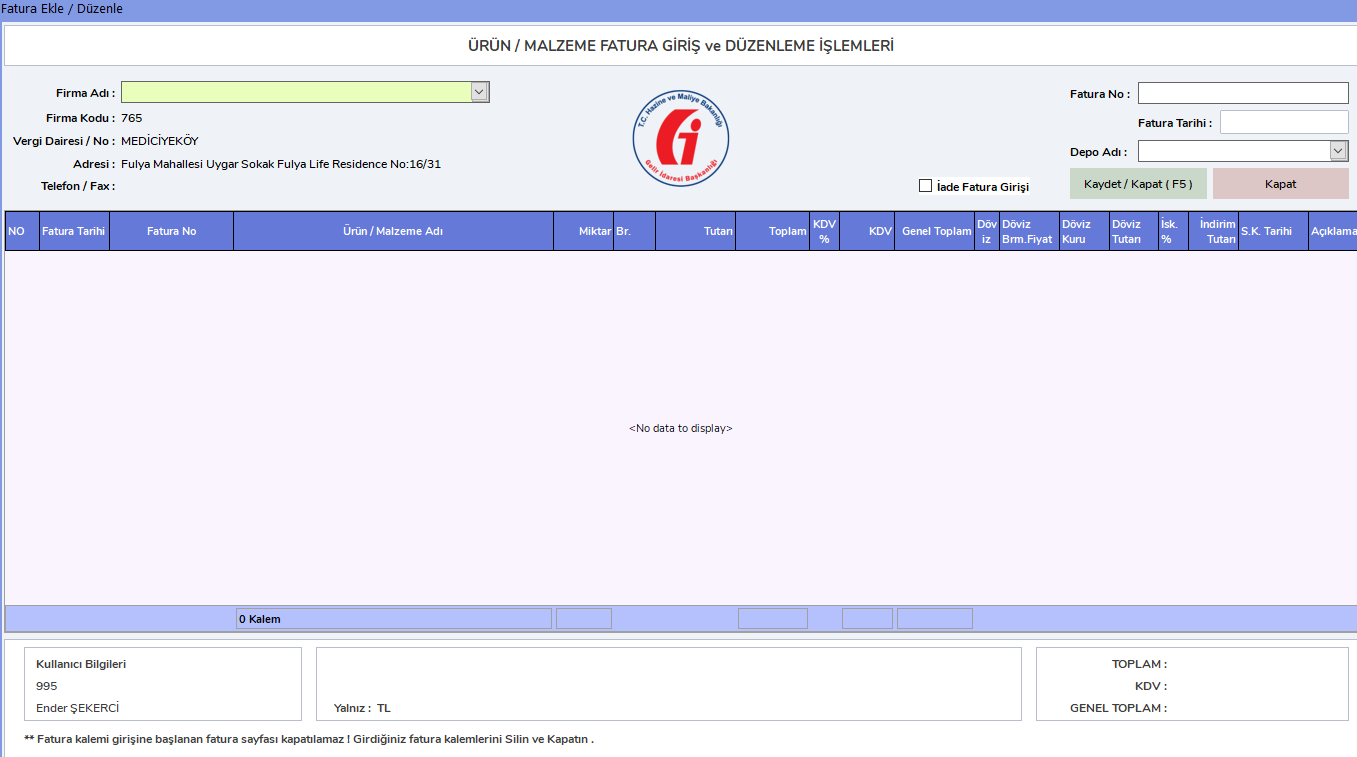
Fill in the information on the invoice in the related fields: company name, invoice no, invoice date, and warehouse name. Note: The "Warehouse Name" you specify here must be the main warehouse for which you are authorized.
After completing invoice information entry, right-click the product/material area and click the "Add Invoice Product/Material Item" button, or you can enter it with the (F2) key.
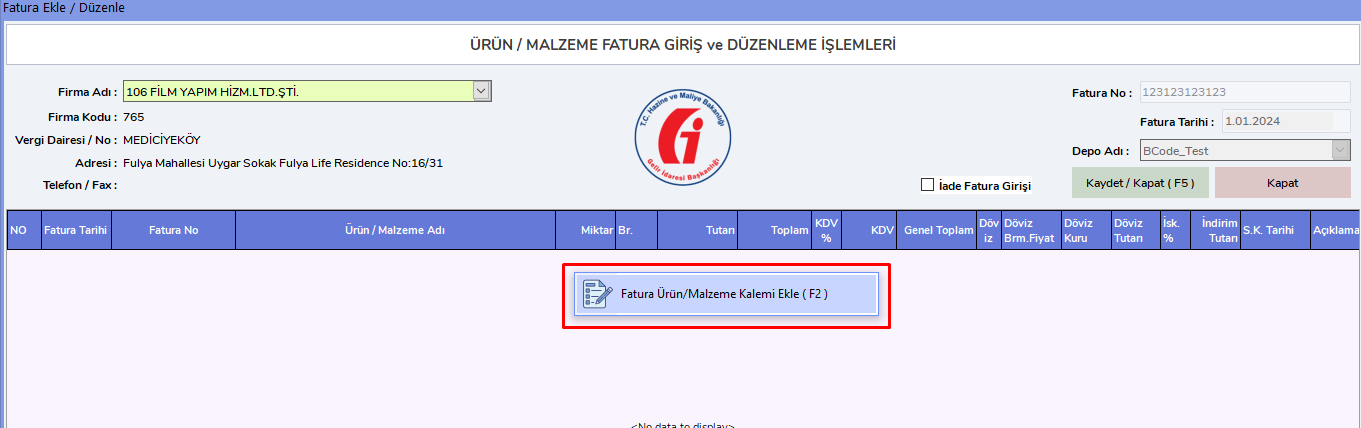
Find the products or materials on your invoice by searching among the Product / Material Cards you created previously.
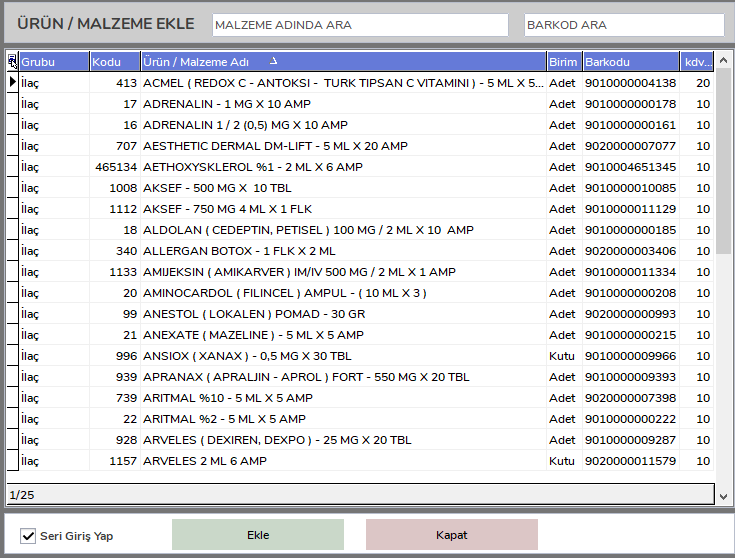
Select the product and click the "Add" button.
After completing product entries, you can edit quantity and price information.
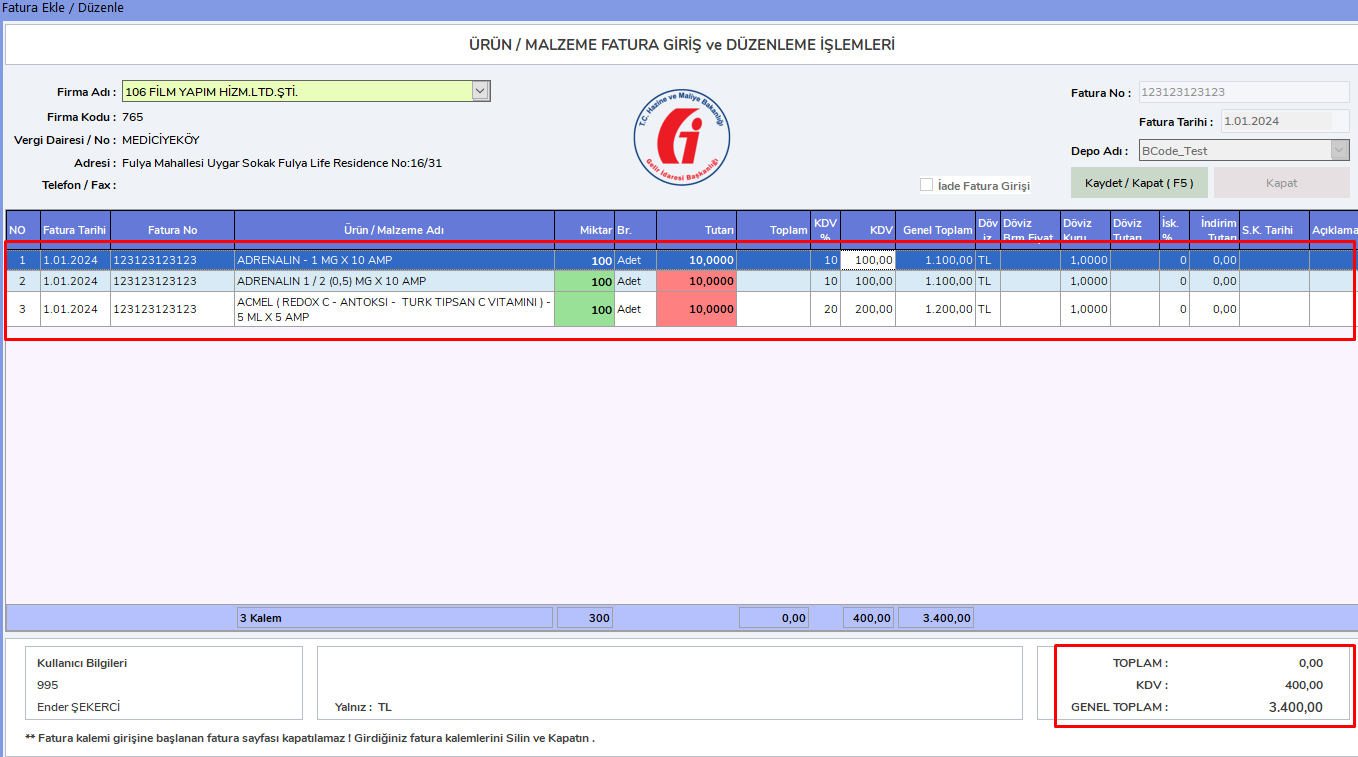
It is enough to enter the quantity and amount price. The system will calculate VAT and the total amount automatically.
Note: The points you need to pay attention to are product quantities and the total invoice amount, which appears at the bottom right. The number must match the invoice you have. The quantities you specify will be added automatically to the stocks of the warehouse you selected.
Warehouse Management
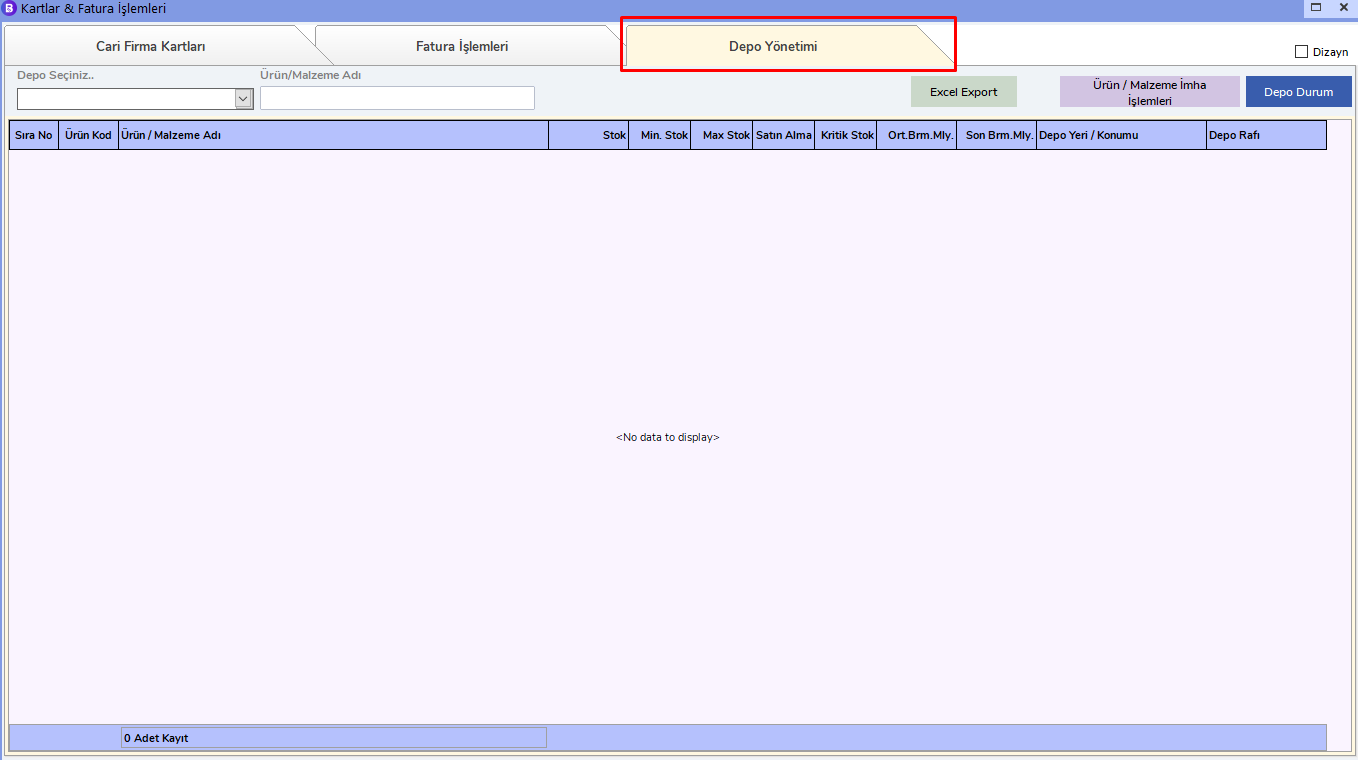
After selecting your warehouse, all products & materials that have had movement in your warehouse will be listed.
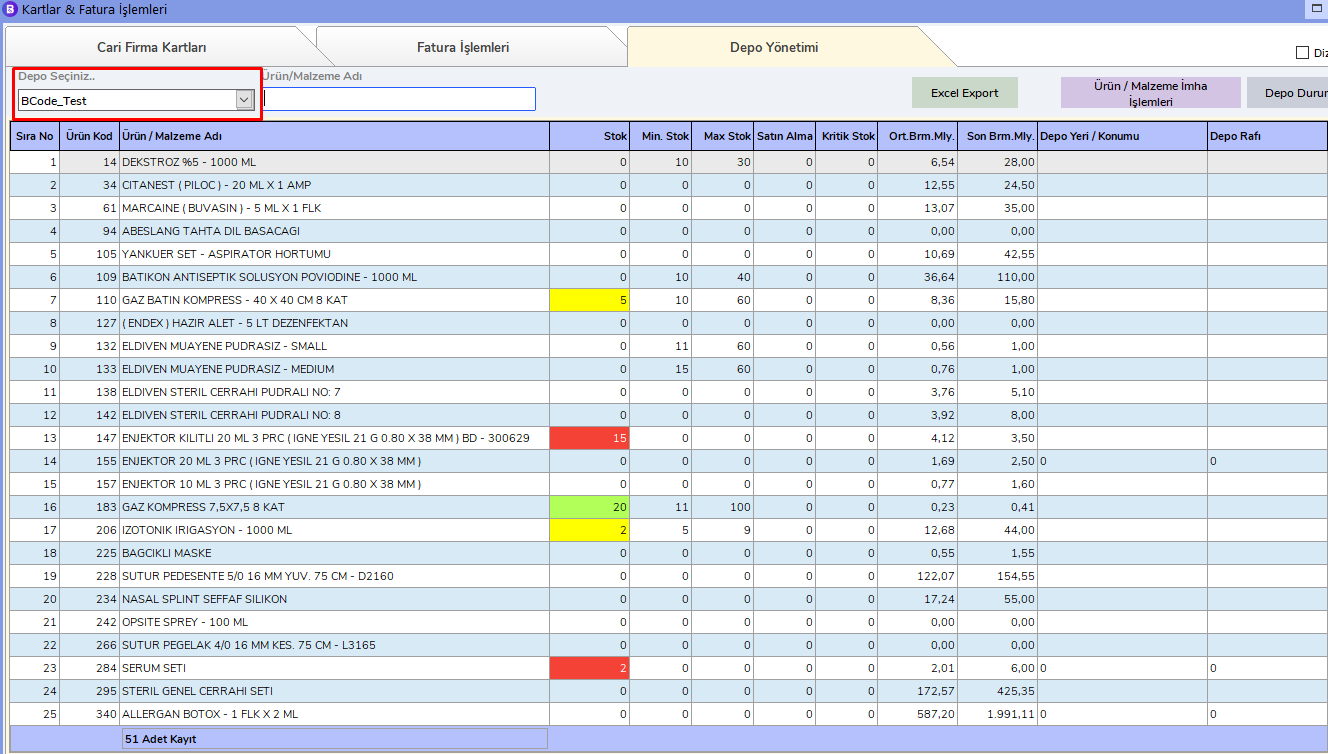
You can see that the stocks of products for which you set Min. Max. Stock are displayed in different colors.
- Red color: Excess stock
- Yellow color: Low stock
- Green color: Suitable stock
Product / Material Disposal Operations

For products you want to dispose of in your warehouse, click the "Product / Material Disposal Operations" button from the "Warehouse Management" tab in the "Cards & Invoice Operations" window.
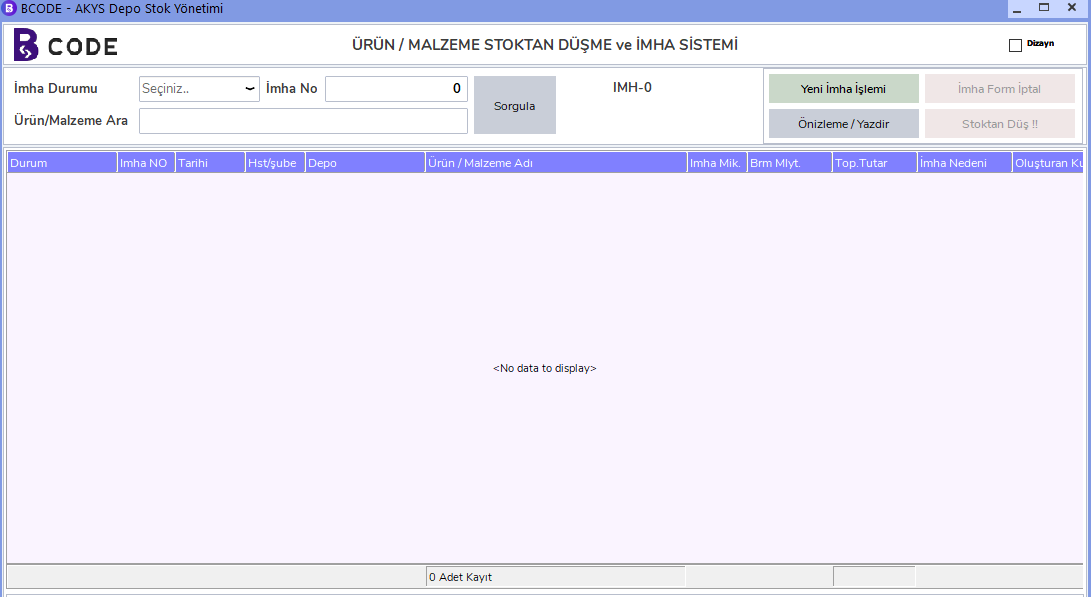
In the Product / Material Stock Deduction and Disposal System window, click the "New Disposal Operation" button.
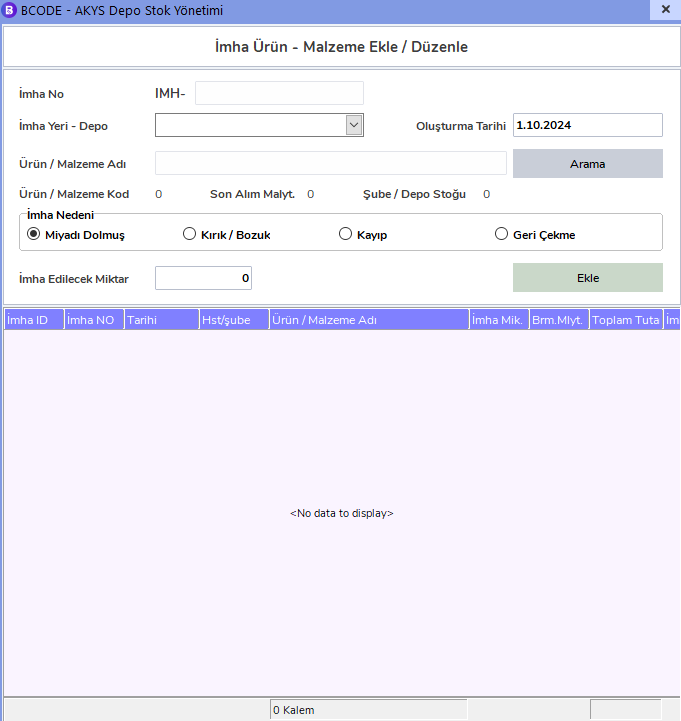
Disposal No is determined automatically by the system. From the Disposal Location - Warehouse field, select the related warehouse from which the product & material will be disposed. Click the "Search" button.
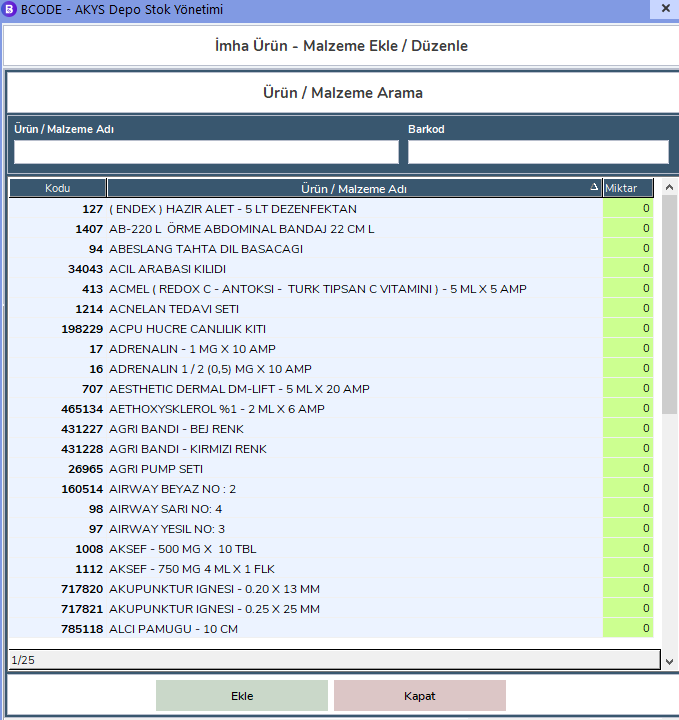
Find the product or material to be disposed of and click the "Add" button. You can add more than one product with the same method.
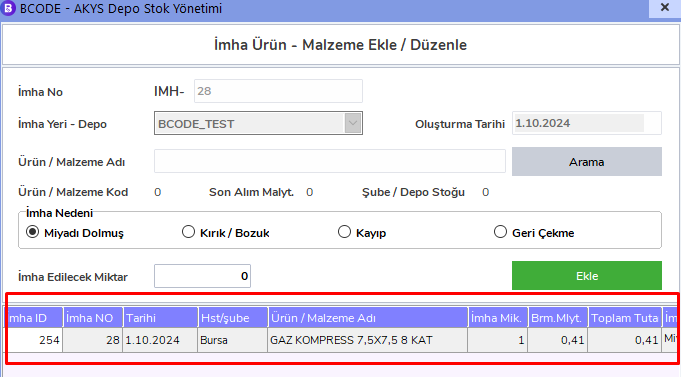
The products you added will be displayed in the area marked in red and a disposal no will be assigned. You can close the window.
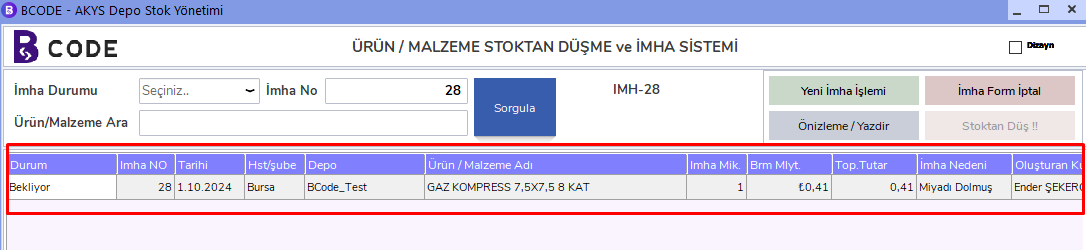
You can search by disposal no. You can view the products you added. You can print the list of products to be disposed of.
Approval Process
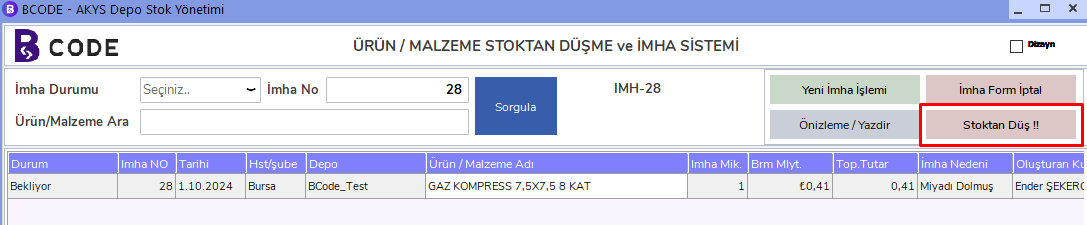
After receiving all approvals, the "Deduct from Stock" button will become active.
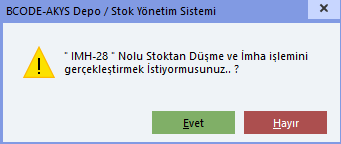
After clicking the button, the approval window will open. If you approve, the stocks of the products will automatically decrease from the related warehouse.