BCODE AKYS "Patient Card" Introduction
Step 1: Patient Detail
The patient's Sales / Operation, Pre-Sales, and Admission Information are included in this tab. In addition, details of the services and sessions provided to the patient and payment information for the sale can also be viewed from this area.
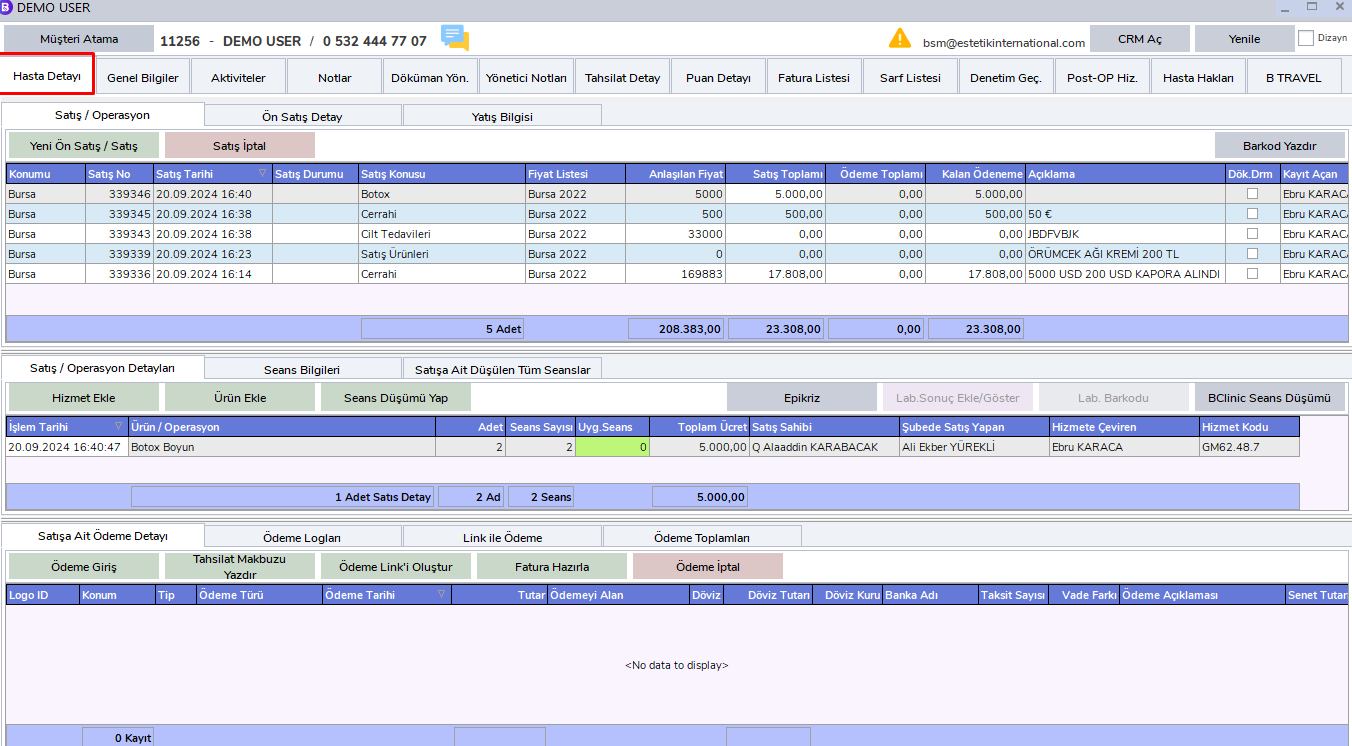
- The patient's Sales / Operation details, provided services, and sessions.
- Payment Details for the sale.
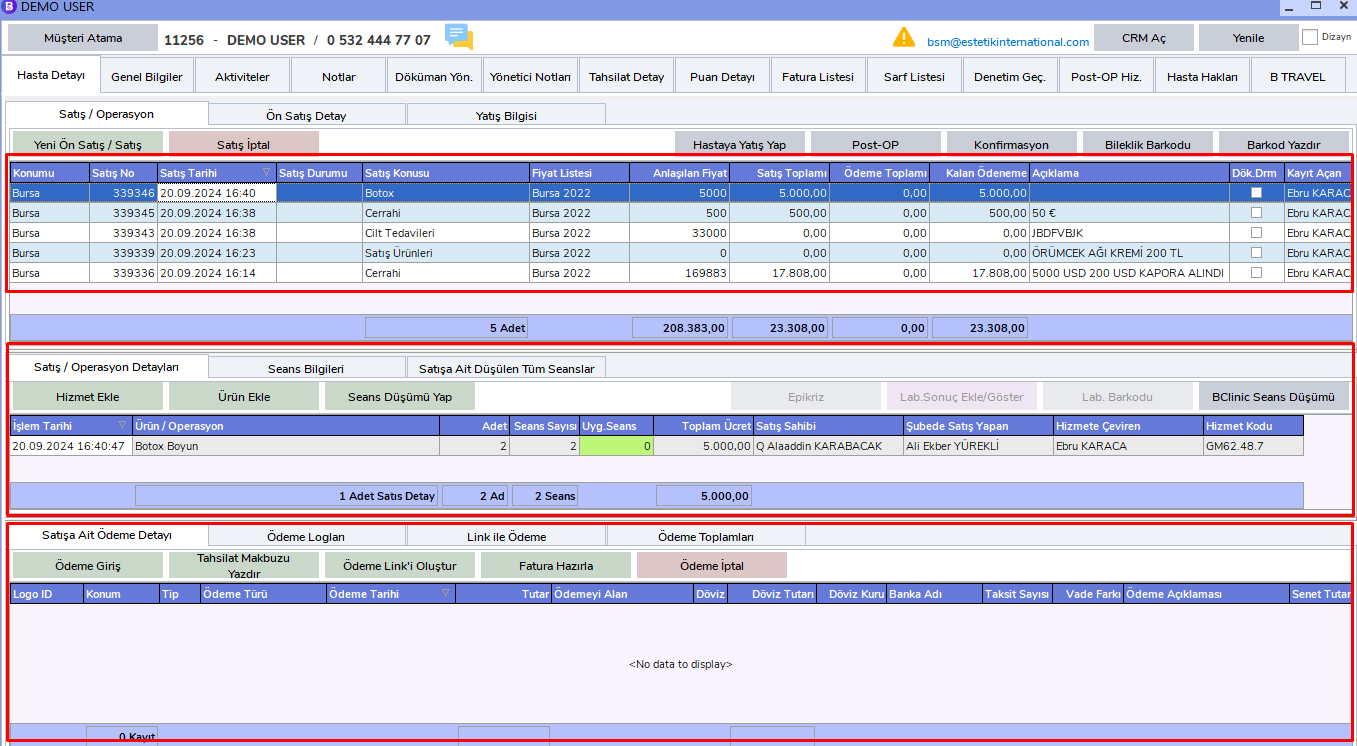
- The patient's Pre-Sales Details.
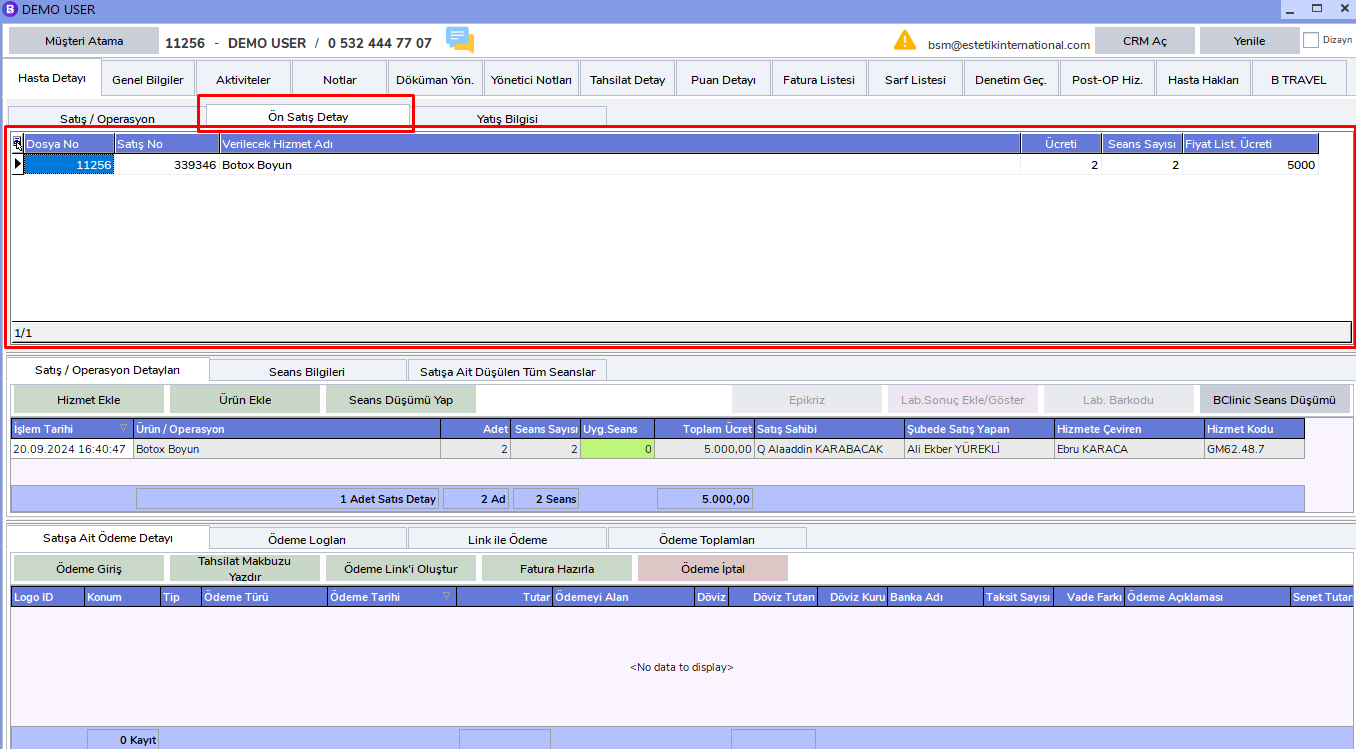
- The patient's Admission Information.
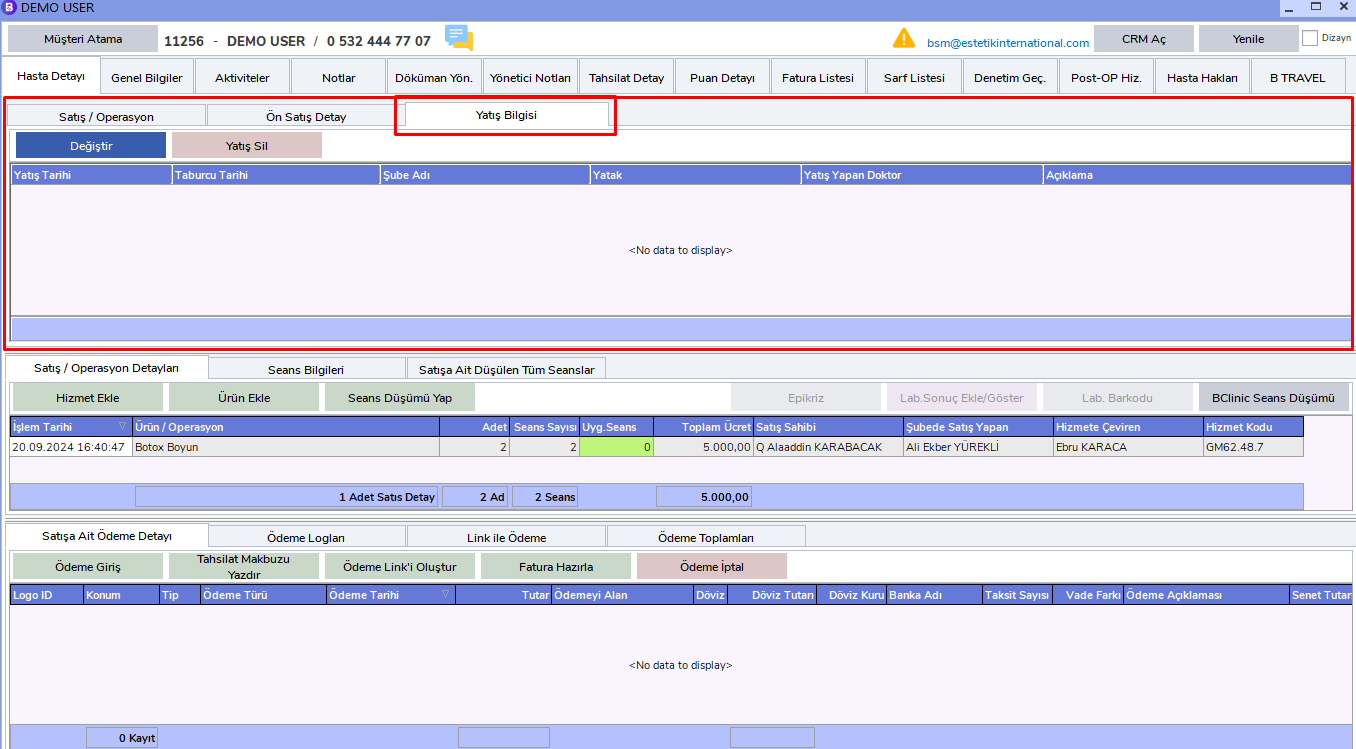
- Session Information for the sale.
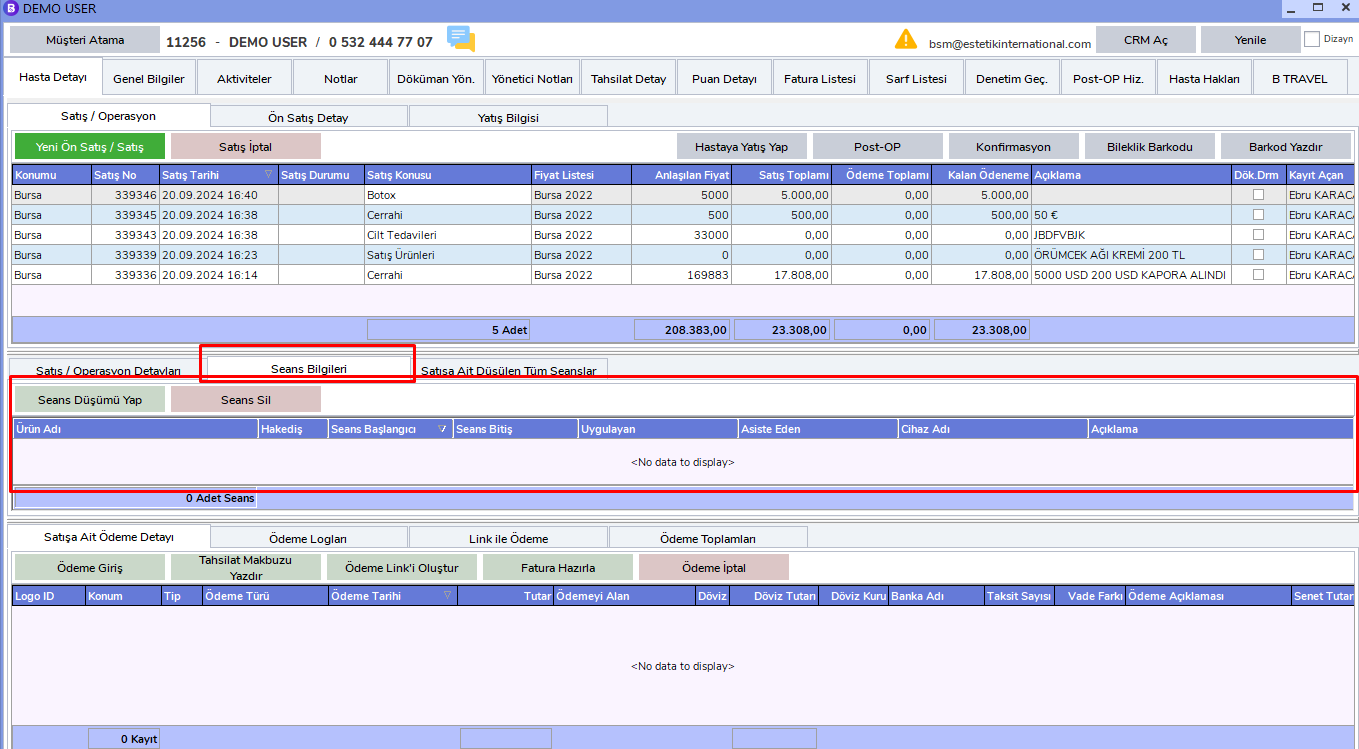
- Deducted Sessions for the sale.
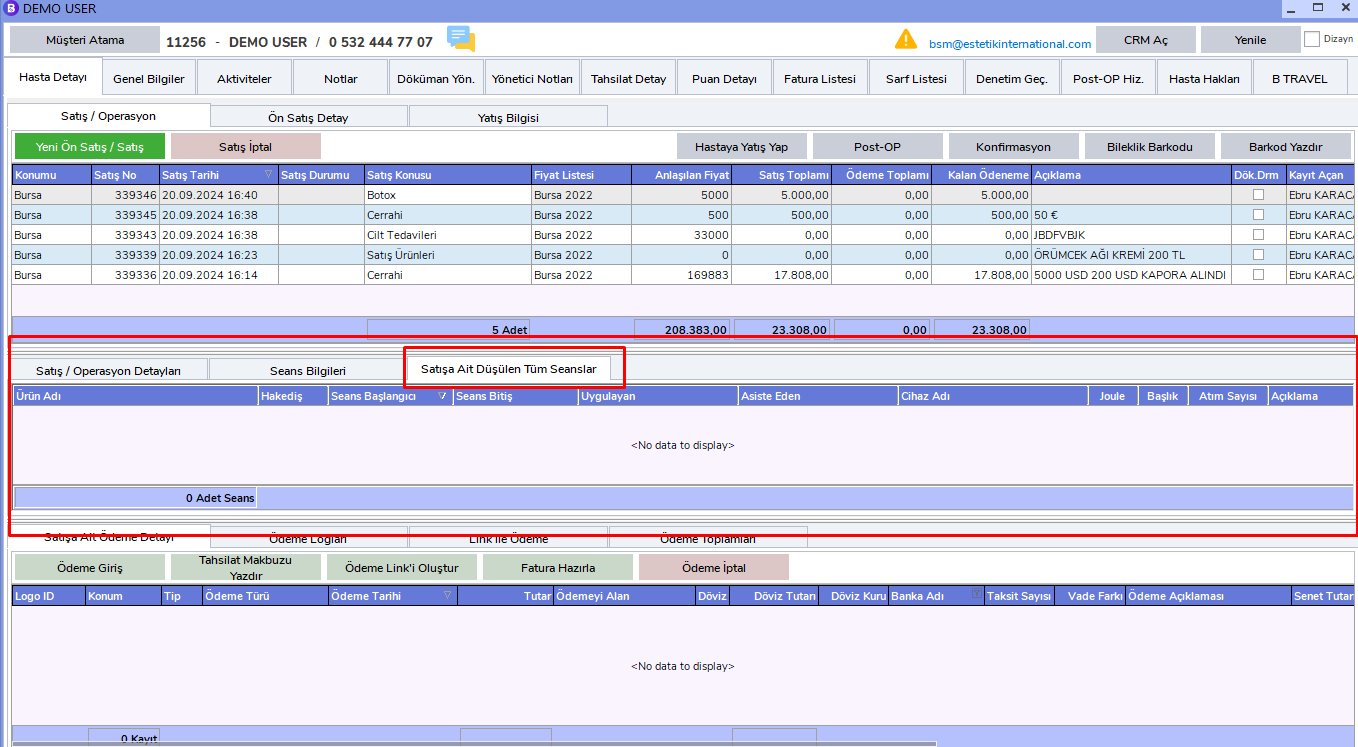
- Payment Detail for the sale.
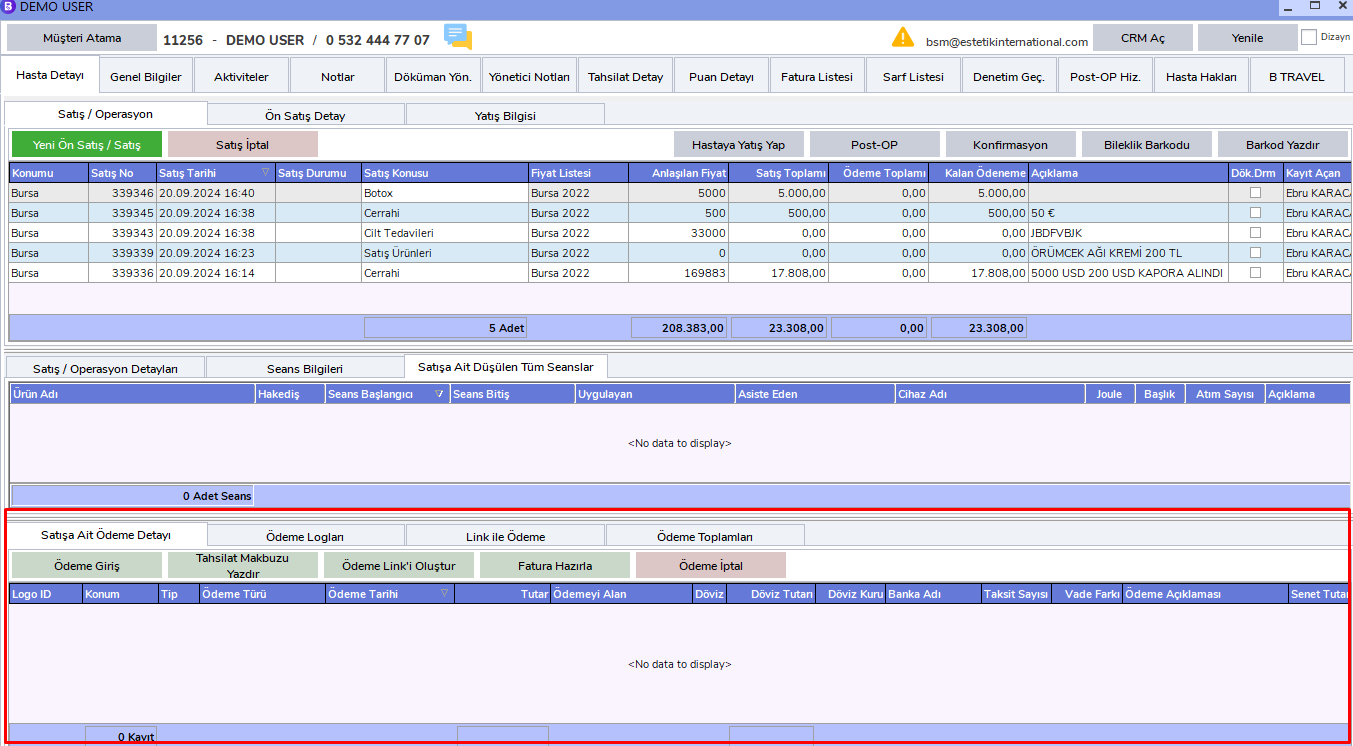
Important Notes
Sales Operations
By default, the most recent sale is automatically selected. However, during all operations, whichever sale will be processed must be selected carefully from the related sale's "Sales/Operation" area.
Service Operations
In service-related operations, the latest service is selected by default. If an operation will be performed for a service, the related service must be selected from the "Sales/Operation Details" area.
Step 2: General Information Belonging to the Patient
In this section, you can view the patient's general information.
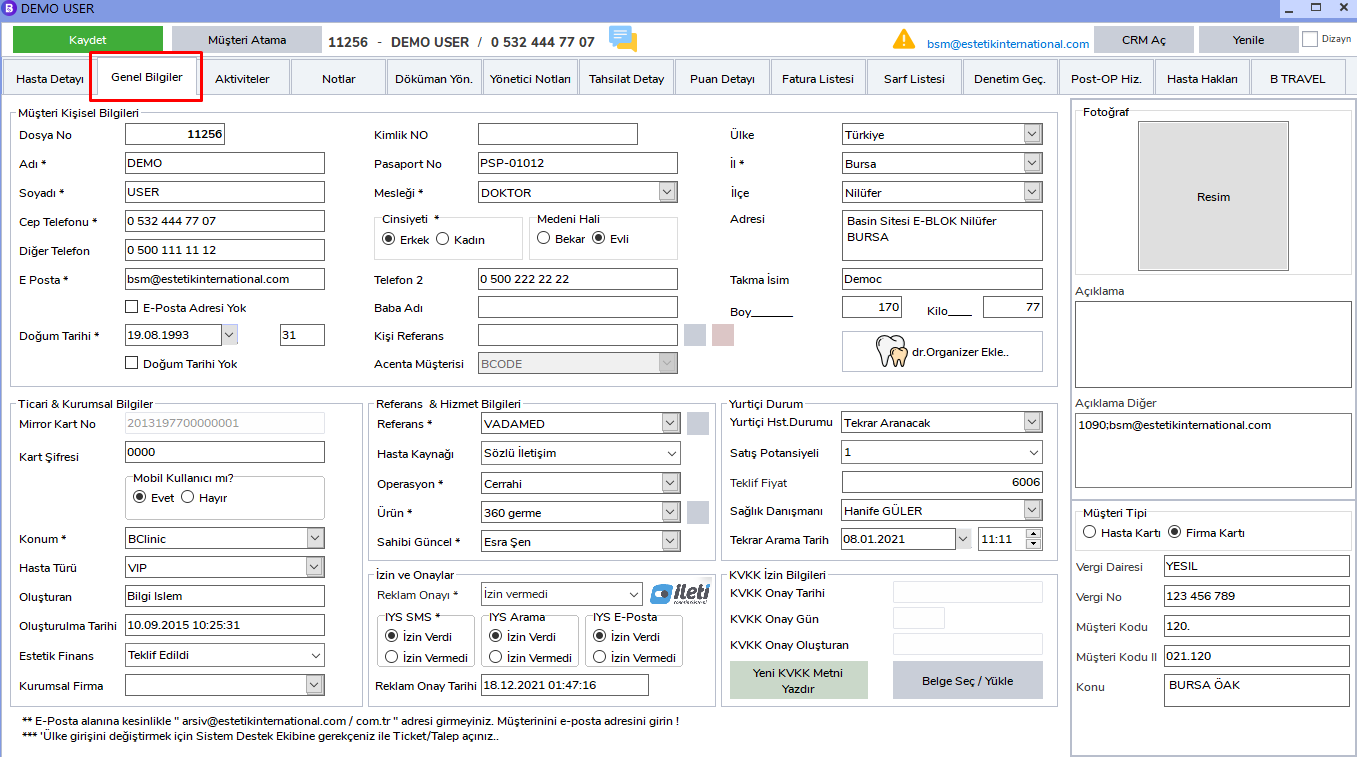
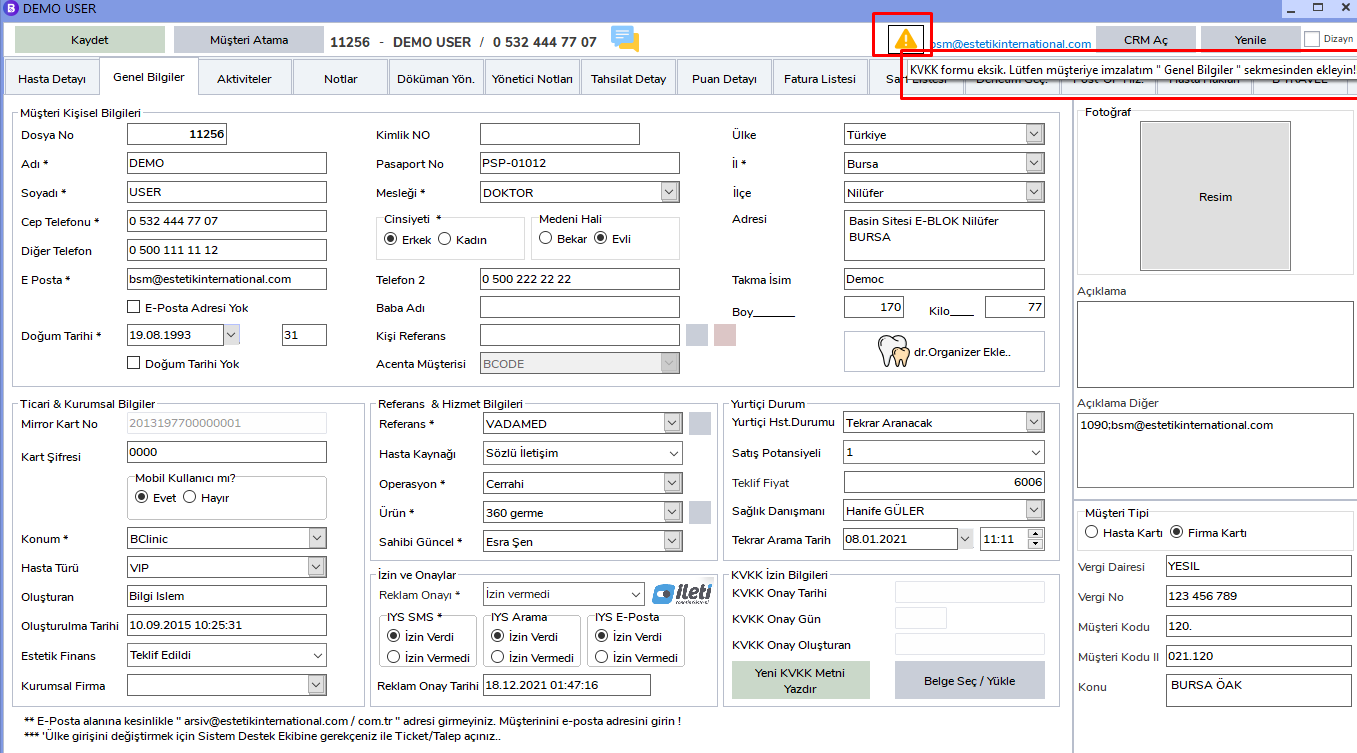
There may be warning exclamation marks in the areas marked in red. These warnings indicate missing information and alerts. Detailed explanations appear when you hover over them.
- Yellow exclamation warning: "KVKK Form Missing".
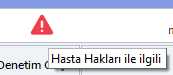
- Red exclamation warning related to "Patient Rights".
- Blue exclamation warning: "Dissatisfied Customer".

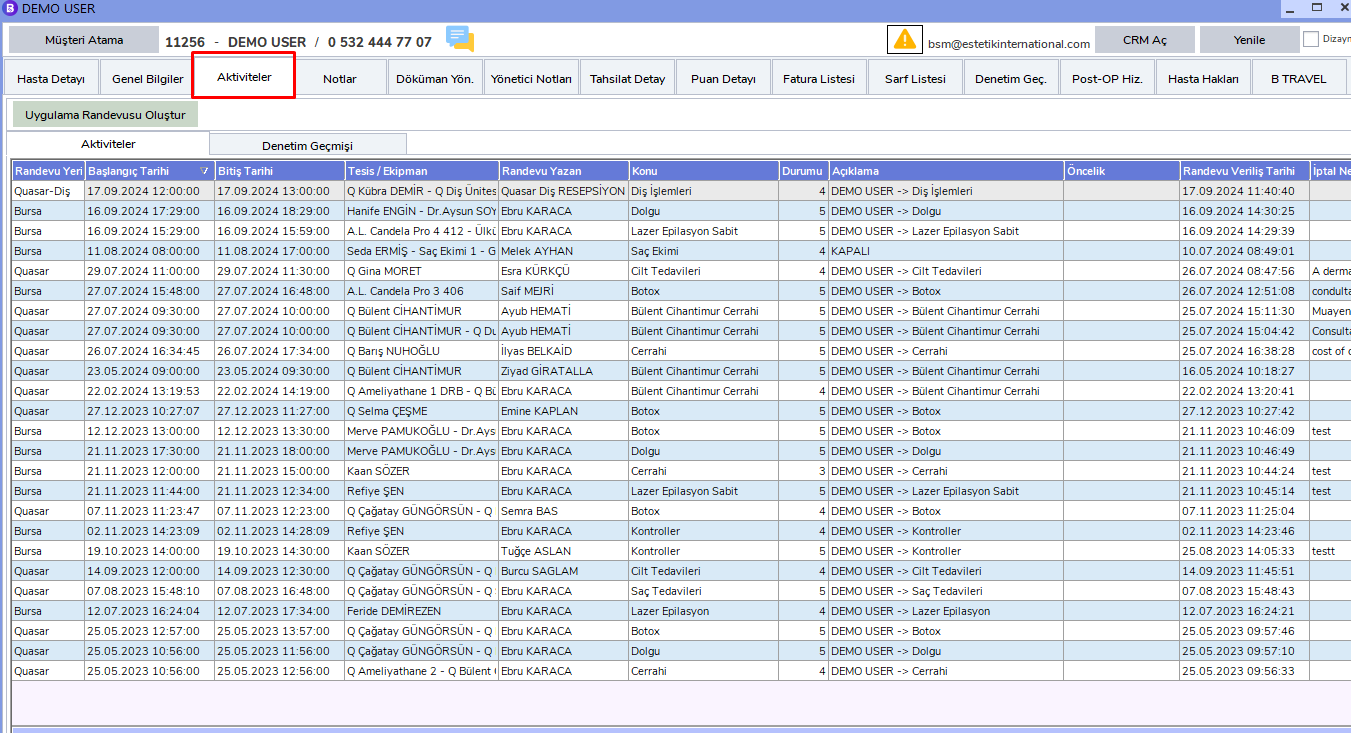
Step 3: Activities Tab
In this tab, which contains all activities belonging to the patient, you can access all past and current activities of the patient.
Step 4: Notes Belonging to the Patient
This tab contains all past information about the patient. This area, where important notes about the patient are frequently recorded and consulted, is very useful.
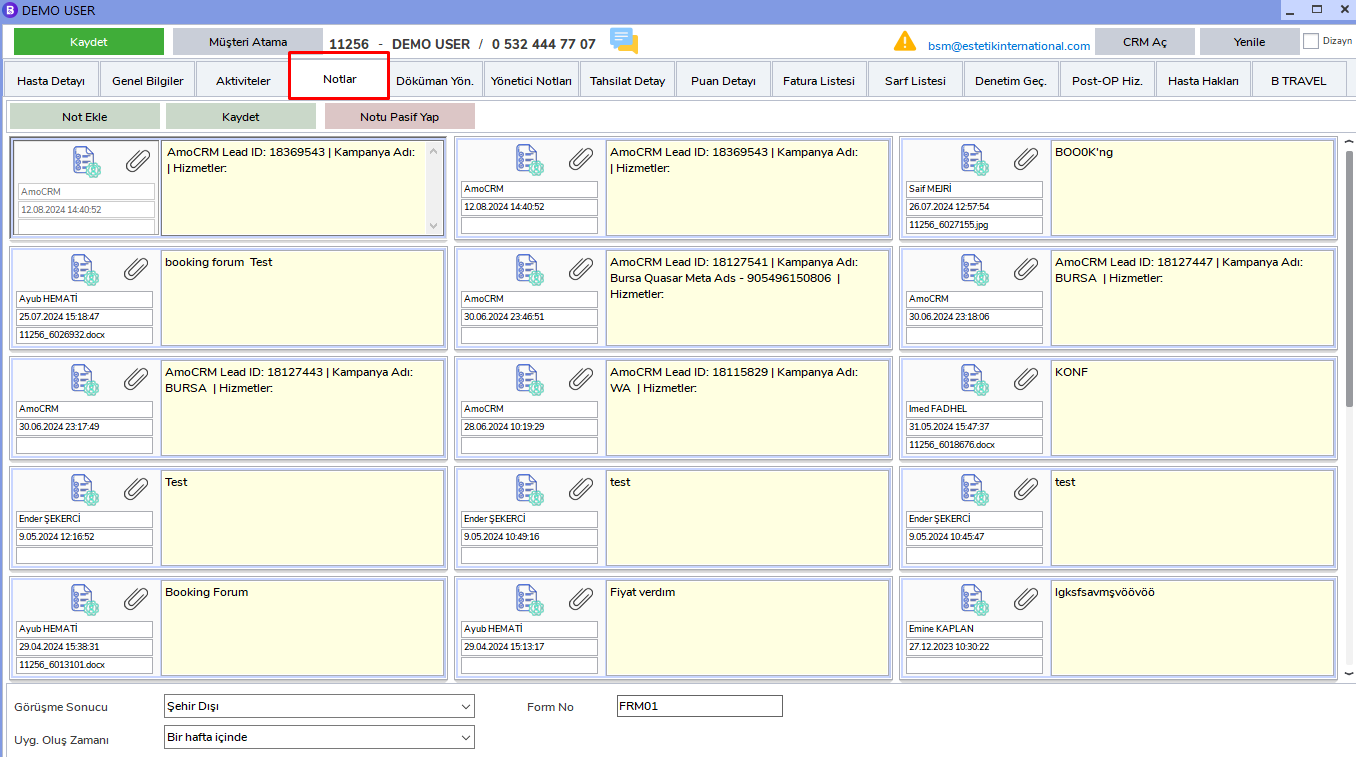
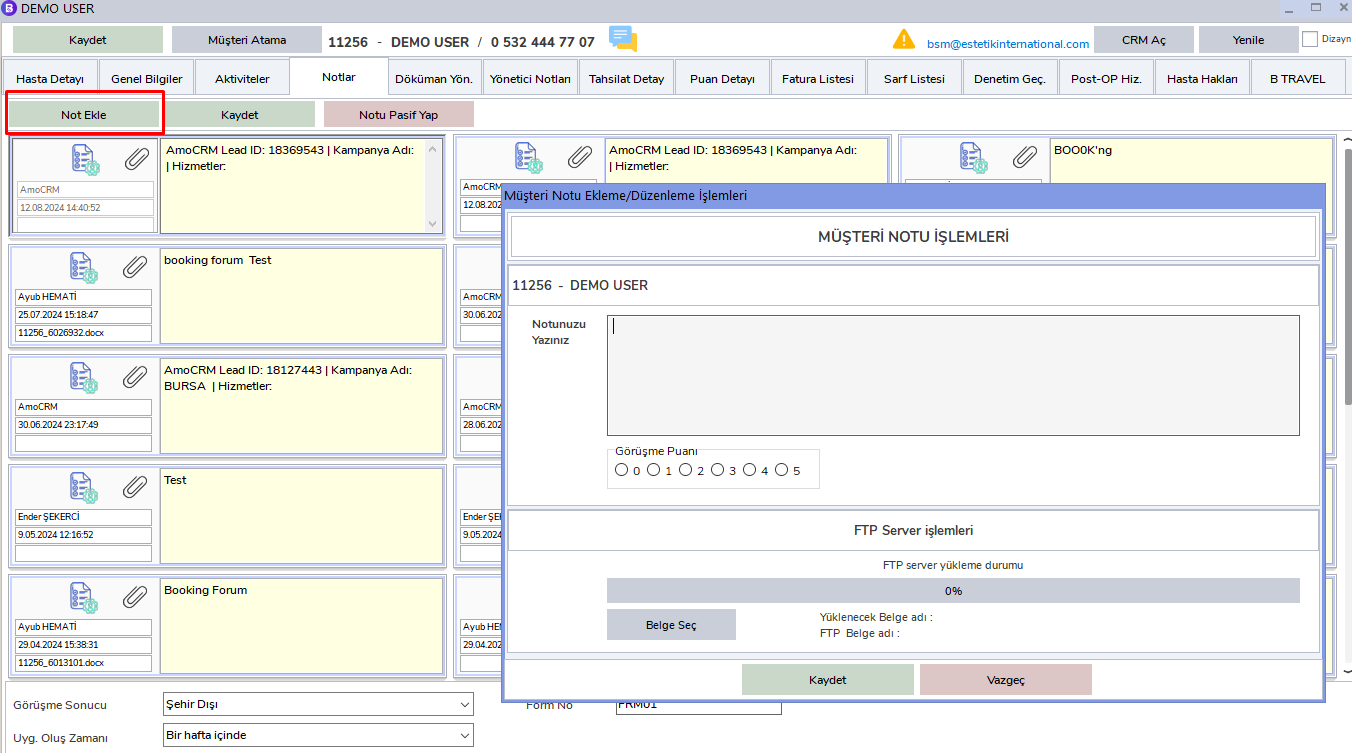
Add New Note:
When you click the "Add Note" button on the upper left, you can add a note by filling in the required fields on the screen that appears.
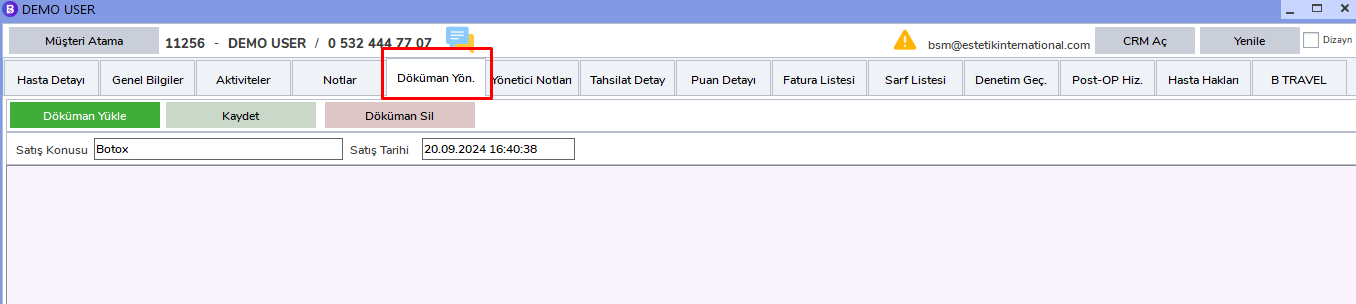
Step 5: Document Management
This area contains all documents belonging to the patient. Documents such as Eser, Consent Form, Operating Room Report, Epicrisis, and Before/After Operation are managed here.
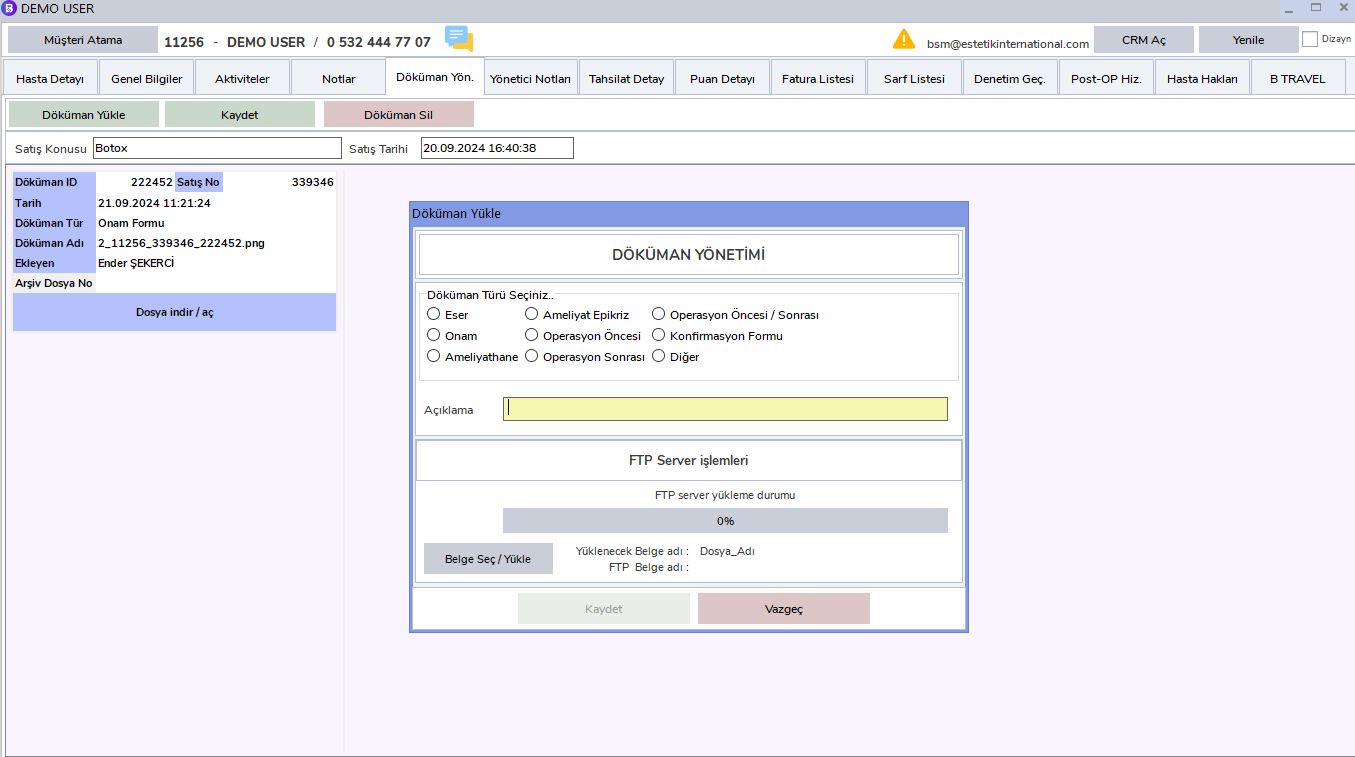
Add New Document:
To add a new document, click the "Upload Document" button on the upper left.
Step 6: Manager Notes Tab
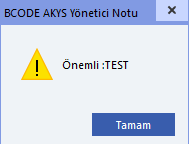
You can add notes to this area only by creating a "Ticket". Added notes appear as a warning before the patient card opens when you open the patient card.
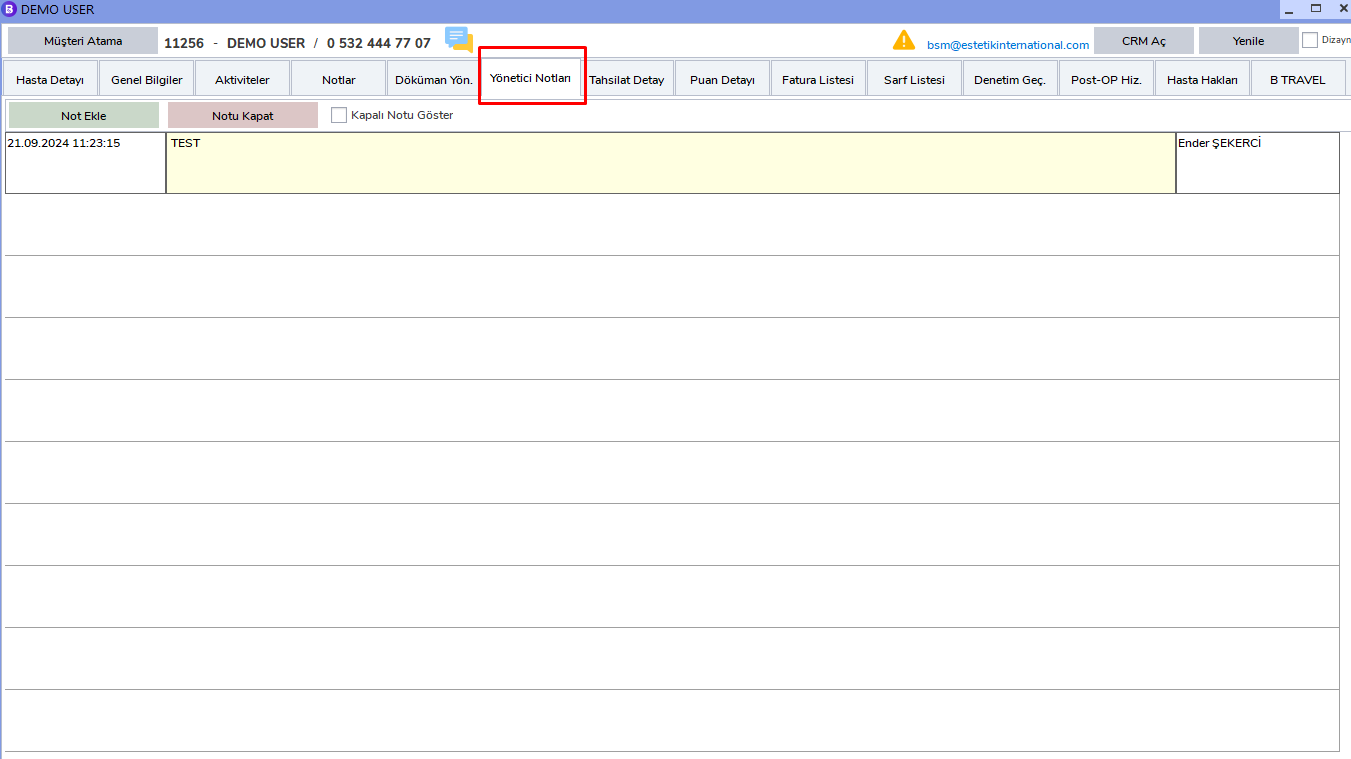
Manager Note Example
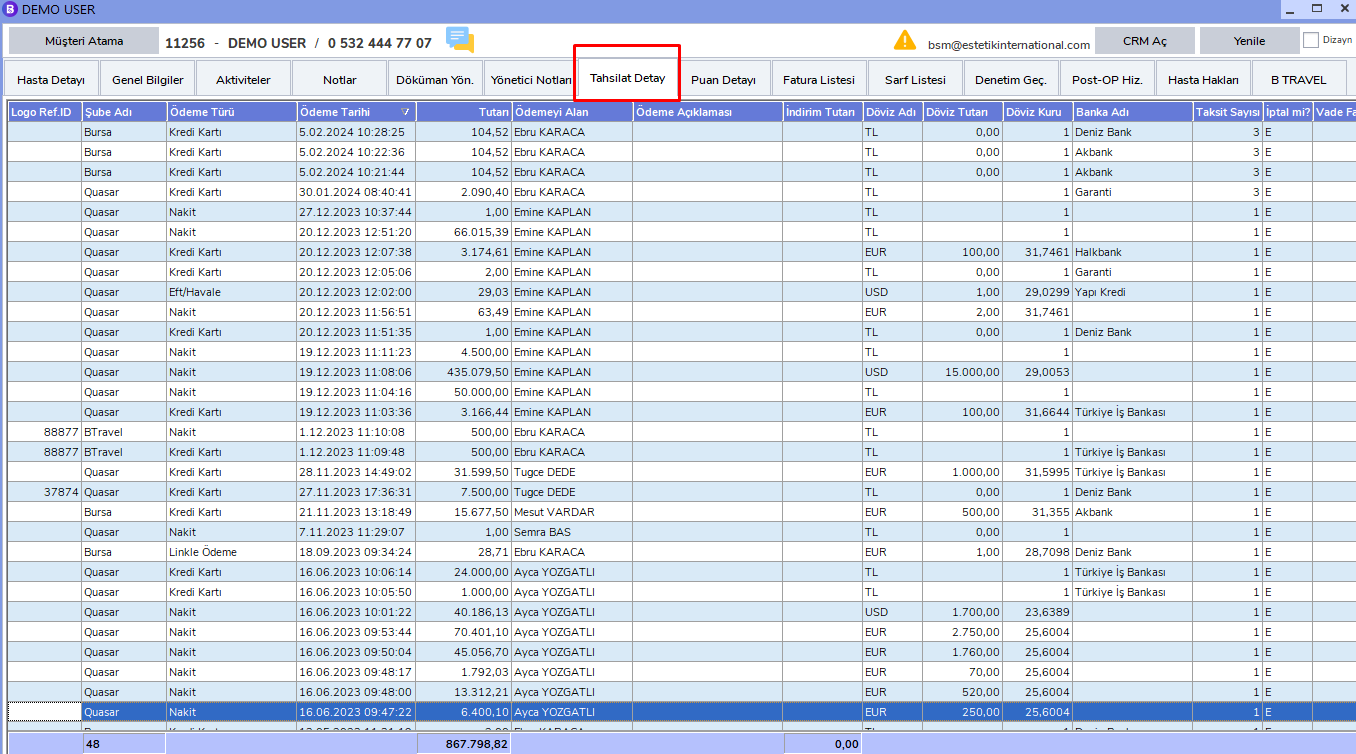
Step 7: Collection Detail
You can view all collection details belonging to the patient in this tab.
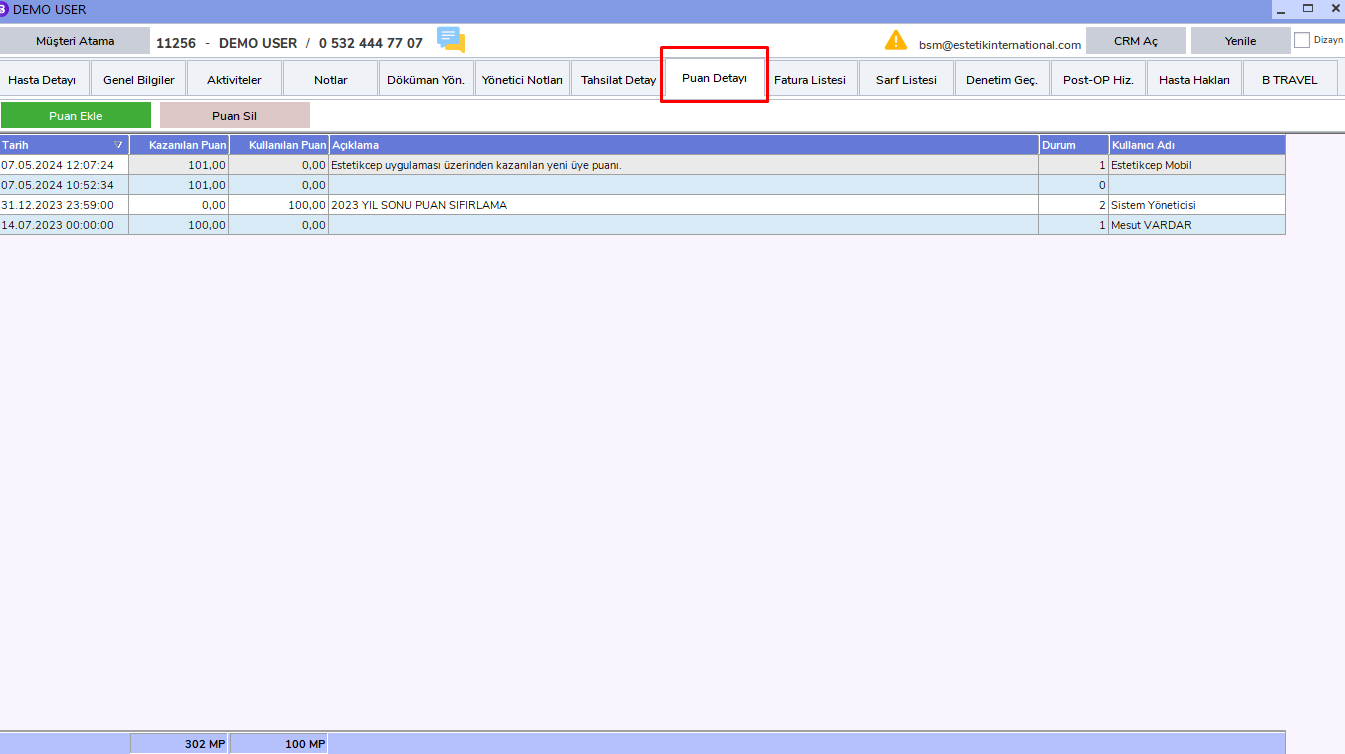
Step 8: Point Detail
You can view all point information belonging to the patient in this area. The patient can earn or spend points by using the Estetik Cep application.
Note: To earn and spend points, the patient must use the Estetik Cep application. To get more information about the application, click here.