Left Menu
3.2 Left Menu
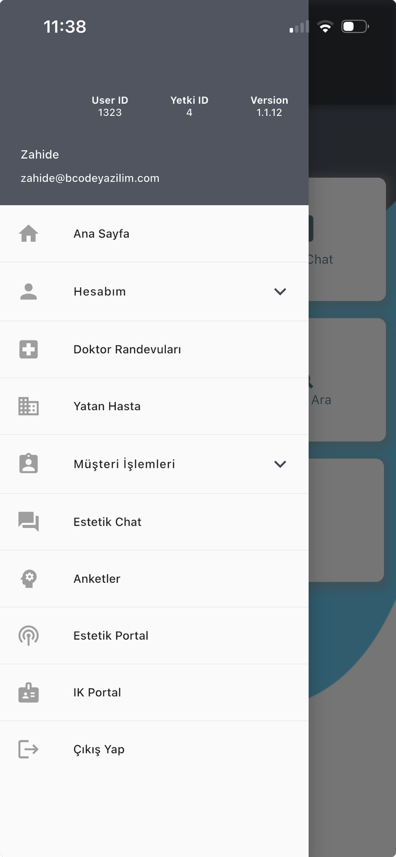
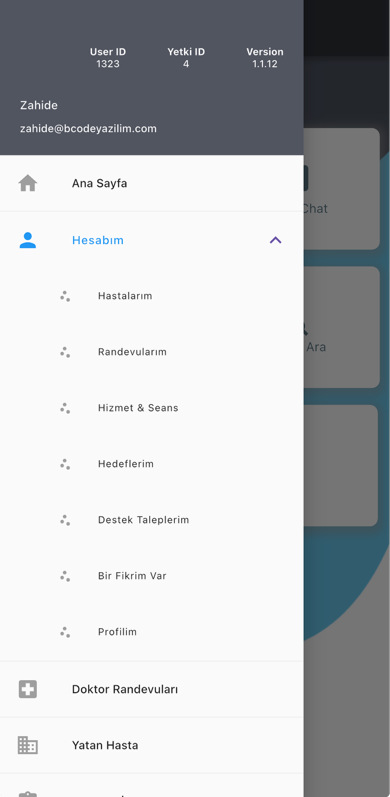
The left menu displays the user photo, name-surname, e-mail, User ID, Authorization ID and application version. Menu headings:
- Main Page
- My Account
- Doctor Appointments
- Inpatient
- Customer Operations
- Estetik Chat
- Surveys
- Estetik Portal
- HR Portal
- Log Out
Under My Account, the options My Patients, My Appointments, Service & Session, My Targets, My Support Requests, I Have an Idea and My Profile appear according to authorization. The visibility of these headings may vary according to user authorization.
3.2.1. My Account
3.2.1.1. My Patients
Lists the patient/customer records for which the user is responsible. Records are displayed as cards on this screen; information such as reference, registration date and country can be tracked. When the patient card is tapped, the Patient Detail screen of the related record opens.
3.2.1.2. My Appointments
Shows the appointments assigned to the user. Appointments are grouped as Today, Tomorrow and other dates. Each appointment card includes patient/customer name, time range, subject, service and status information. The Patient Detail screen is opened from the card.
The My Appointments screen lists the user's own appointments. Appointments are grouped as Today, Tomorrow and other dates. Cards display:
- Appointment type
- Customer/patient name surname
- Start and end time
- Subject / service name
- Status information
When the appointment card or the arrow button on the right is tapped, the Patient Detail screen opens.
Status indicators:
- GELDI: green icon
- IPTAL: red icon
- REZERVE: gray icon
3.2.1.3. Service & Session
Lists the user's sales, service and session records. The total amount is shown at the top of the screen. Date, patient/customer name and amount information are displayed in the list. This screen is especially used to track the user's own sales/service performance.
3.2.1.4. My Targets
Shows the sales target defined for the user and the realized sales. Target achievement status is tracked with a pie chart. In the lower section, sales included in the target are listed with patient name, date and amount information. If no target is defined, the message No Target Found is displayed.
3.2.1.5. My Support Requests
This is the section where the user tracks support requests they opened, requests assigned to them or closed requests. It includes the tabs My Opened Requests, My Pending Requests and My Closed Requests. Creating a new support request, entering request details, adding notes, adding files, starting work and closing the request are performed from this section.
The My Support Requests module is used to create, track, respond to and close support requests.
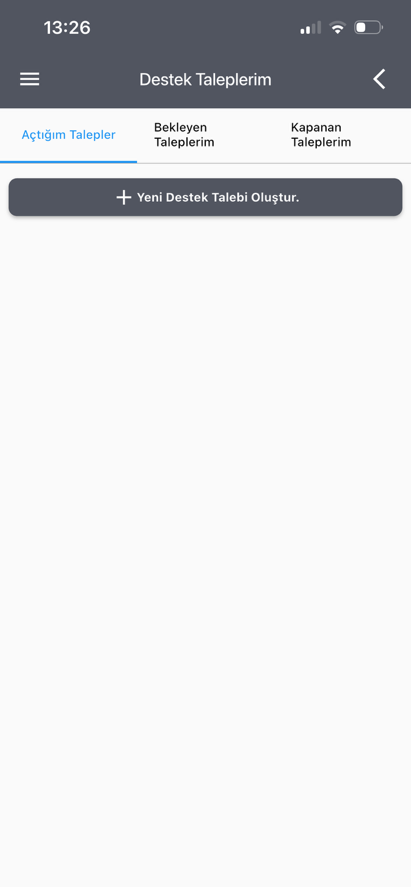
There are three tabs on the screen:
- My Opened Requests: Requests opened by the user.
- My Pending Requests: Open/pending requests related to the user.
- My Closed Requests: Closed requests. This tab includes a search field.
Request cards display title, content, priority, status and opening date. Priorities are shown as Planned, Low, Medium and High. Statuses are Pending, In Progress and Completed.
If the status is Pending in pending requests, the Start Working operation can be performed from the Update Status menu.
Creating a New Support Request
- Tap the Create New Support Request button on the My Support Requests screen.
- Select a department.
- Select priority.
- Select users from the Related Persons field. Multiple people can be selected.
- Fill in the Request Title field.
- Add an attachment with Select File if needed.
- Write the description in the Request Content field.
- Tap the Create button.
Request Detail
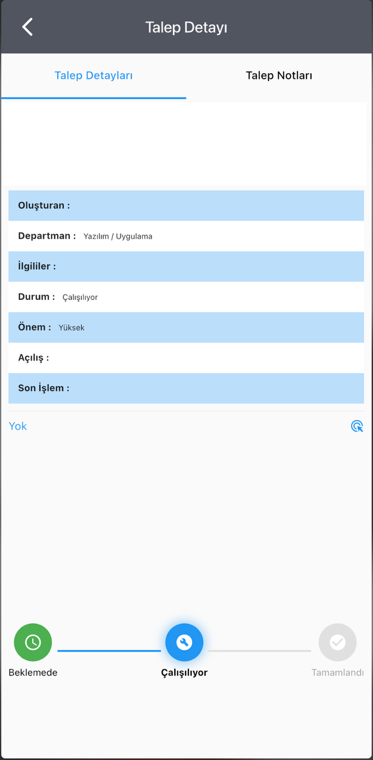
When the request card is tapped, the Request Detail screen opens. There are two tabs:
- Request Details
- Request Notes
On the Request Details tab, request title, content, creator, department, related persons, status, importance, opening date, file attachment and status steps are displayed.
Correspondence is shown on the Request Notes tab. To send a new note:
- Select a related person if needed.
- Write your note.
- Add a single file with Select File if needed.
- If you want to close the request, check the Close this request box.
- Tap the Send button.
Attached image files can be previewed. PDF and DOCX files can be opened in an external application.
3.2.1.6. I Have an Idea
Used to send internal ideas and suggestions. The idea category is selected; idea source, idea description and the benefits the idea will provide are written and sent.
3.2.1.7. My Profile
This is the section where the user views and updates profile information. Name-surname and username are displayed. A profile photo can be selected, the password can be viewed and changed, and updates are made with the Save My Information button.
3.2.2. Doctor Appointments
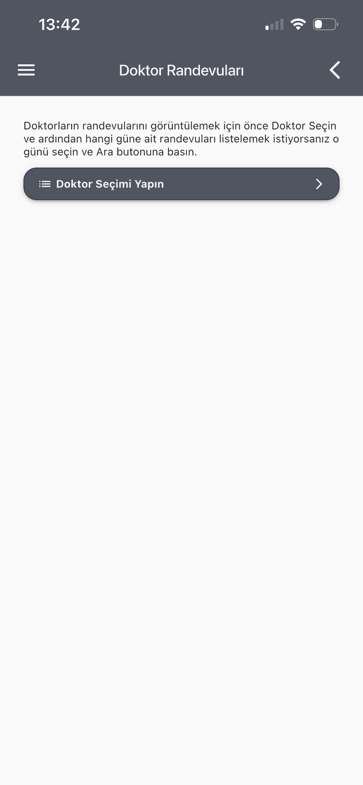
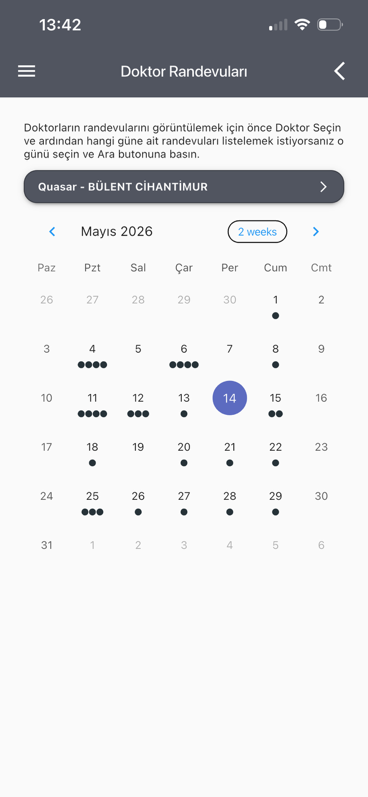
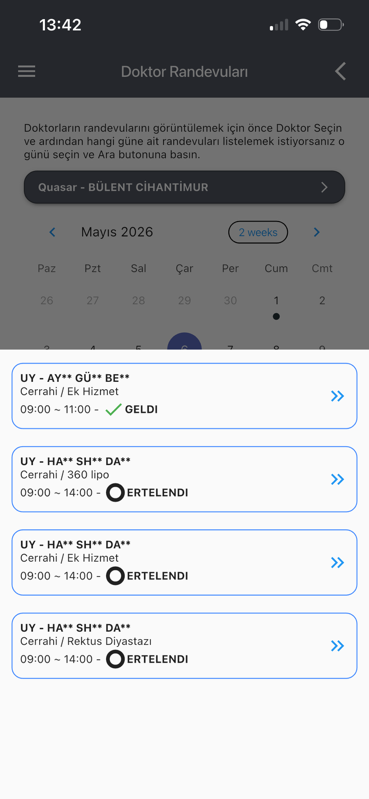
This is the doctor-based appointment viewing screen. First the doctor is selected, then a day is selected on the calendar to access each patient's patient detail screen for that doctor.
3.2.3. Inpatient
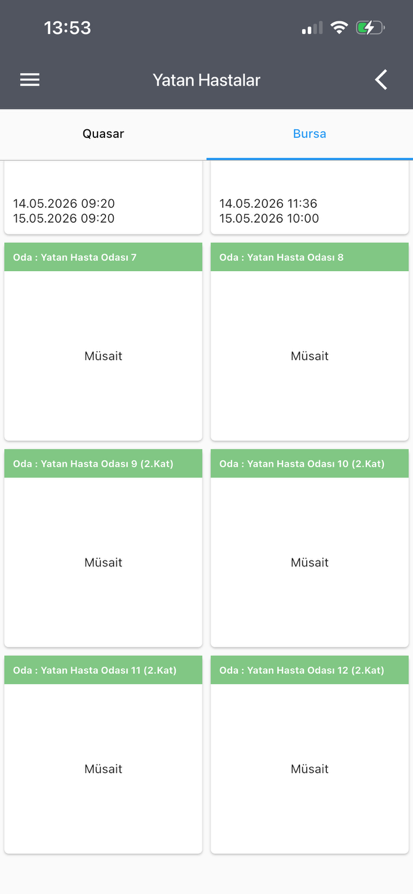
Shows branch-based room and inpatient status. It includes Quasar and Bursa tabs. Available rooms are shown in green and occupied rooms in red. An occupied room card displays patient name, doctor, surgery date and appointment times. When an occupied room is tapped, the Patient Detail screen opens. When an empty room is tapped, an inpatient not found warning is displayed.
3.2.4. Customer Operations
Under this heading, Customer Search and Add Customer options are available.
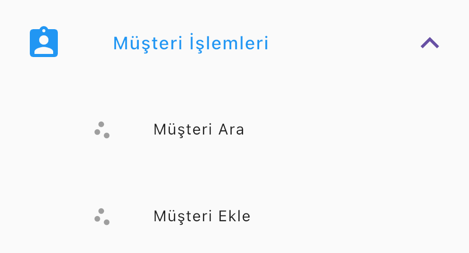
- Customer Search: Customer/patient search is performed by File No, Name Surname or Mobile Phone. Restricted users can search only by File No.
- Add Customer: A new customer record is created. The record is saved by filling in name, surname, country, e-mail, phone, source, operation group, operation and note fields.
3.2.5. Estetik Chat
This is the internal one-to-one and group messaging module. It includes Chats, Groups and New Chat tabs. Users can share messages, files, images, videos or audio; they can reply to, copy and forward messages.
3.2.5.1. Main Chat Screen
There are three tabs in the bottom menu:
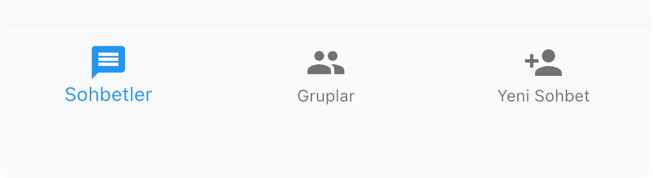
Existing chats are listed on the Chats tab. Group chats are listed on the Groups tab. A new chat is started by selecting a person from the user list on the New Chat tab. A mobile user search can be performed with the search icon on the New Chat tab.
3.2.5.2. Creating a Group
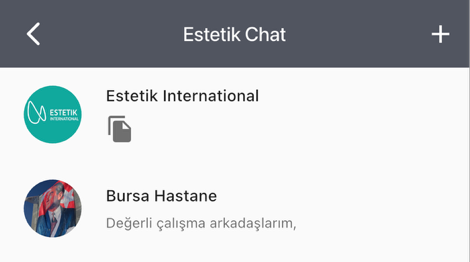
The group creation flow opens with the plus icon at the top of the Groups tab.
- Group members are selected.
- The Create Group button is tapped.
- The group name and, if necessary, group image are specified.
- The created group directs to the chat screen.
Group Detail;
When the top title is tapped in the group chat, the group detail screen opens. Group administrators can:
- Add a new person
- Edit the group name/image
- Delete the group
- Remove a user from the group
Users who are not administrators cannot perform these operations.
3.2.6. Surveys
Lists surveys assigned to the user. Questions are answered by tapping the survey card, required description fields are filled in and the survey is sent with the Save button.
3.2.7. Estetik Portal
This is the portal where internal announcements, images and video content are published. Users can view, like and comment on content. Authorized users see the Manage Portal option; this option is used to add, edit and delete posts.
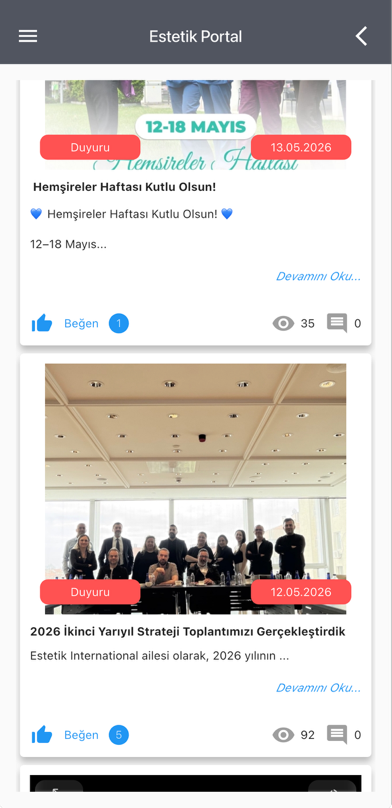
Authorized users:
- Can add posts
- Can edit posts
- Can delete posts
Post add/edit fields:
- Title
- Category
- File
- Content
- Send notification? Yes/No
After the form is completed, the Send button is tapped. The portal page must be refreshed to see the post.
3.2.8. HR Portal
This is the portal where Human Resources content is published. Image and video content is listed. Authorized users can add, edit and delete HR content with the Manage Portal option.
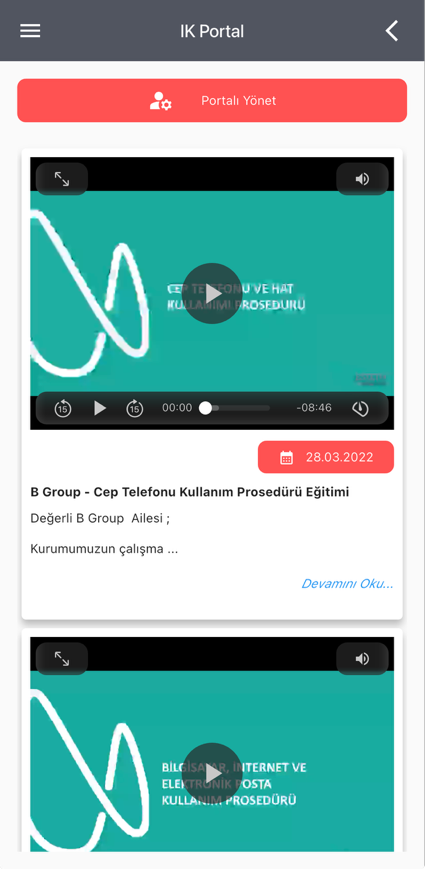
On the management screen:
- Add Post
- Edit Post
- Delete Post
operations can be performed.
Post add/edit fields:
- Title
- File
- Content
- Send notification? Yes/No
3.2.9. Log Out
Ends the session, clears saved session information and directs the user to the login screen.